Step-by-Step Guide to Drawing a Realistic Lion with Pencil and Ink – Panthera leo
Post by Madeleine Dube
How to Draw Mammals
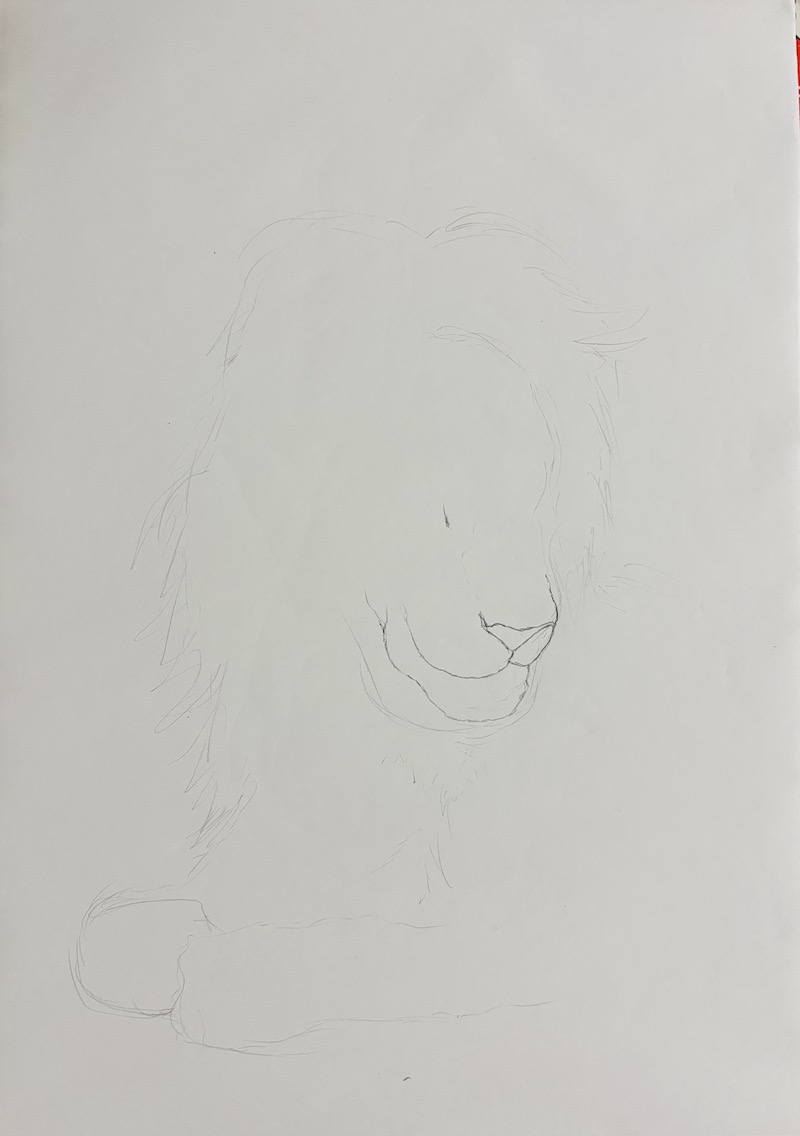
1. Start by sketching the realistic lion drawing’s basic outlines using a graphite pencil
Begin by positioning the lion’s muzzle in the center of the page. Lions have elongated faces, so make sure to leave enough space to center the head properly. Next, lightly sketch the outline of the mane. Then, draw simple guidelines to indicate the front legs and the area they will occupy. Don’t worry about mistakes—erase and adjust your lines as needed. The key is to get the proportions right before adding any details.
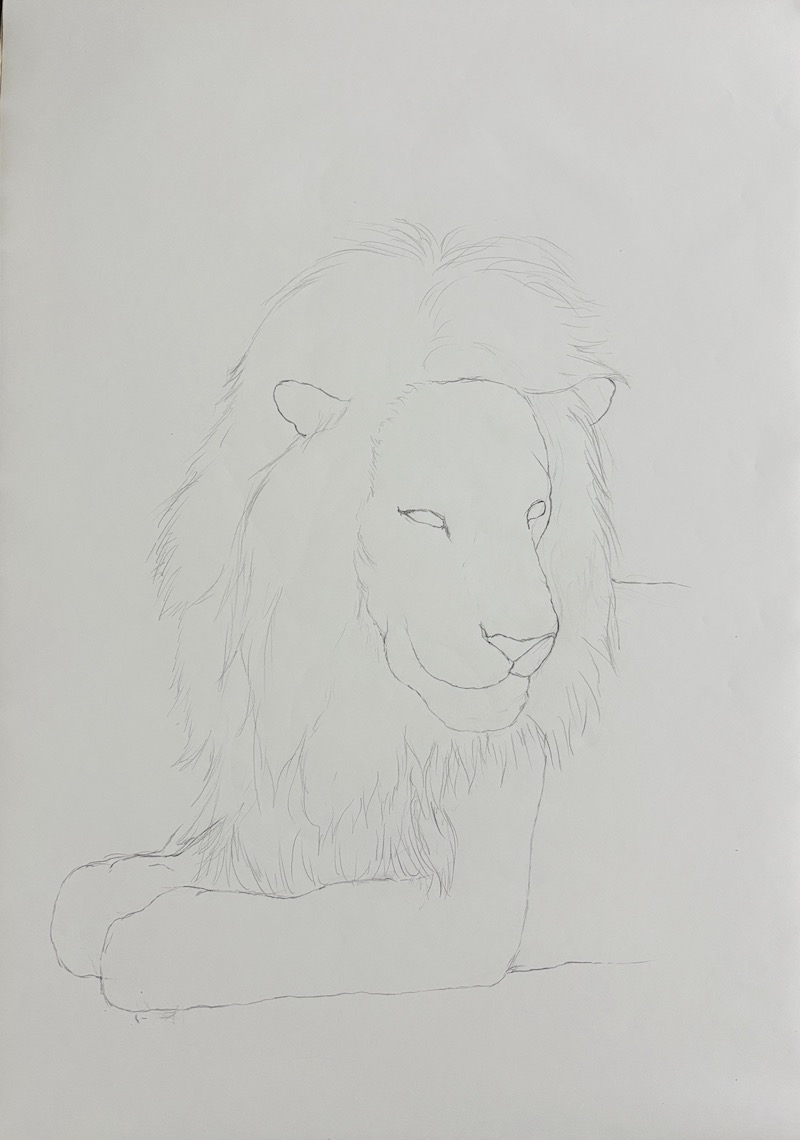
2. Sketch the Eyes and Ears - Realistic Lion Drawing
The lion’s eyes are relatively small compared to its muzzle and face, and the ears are also small in proportion to the mane. At this stage, you can begin adding details to the two layers of the mane. Take time to refine the outlines of the legs to define the muscles and the folded paws more clearly.
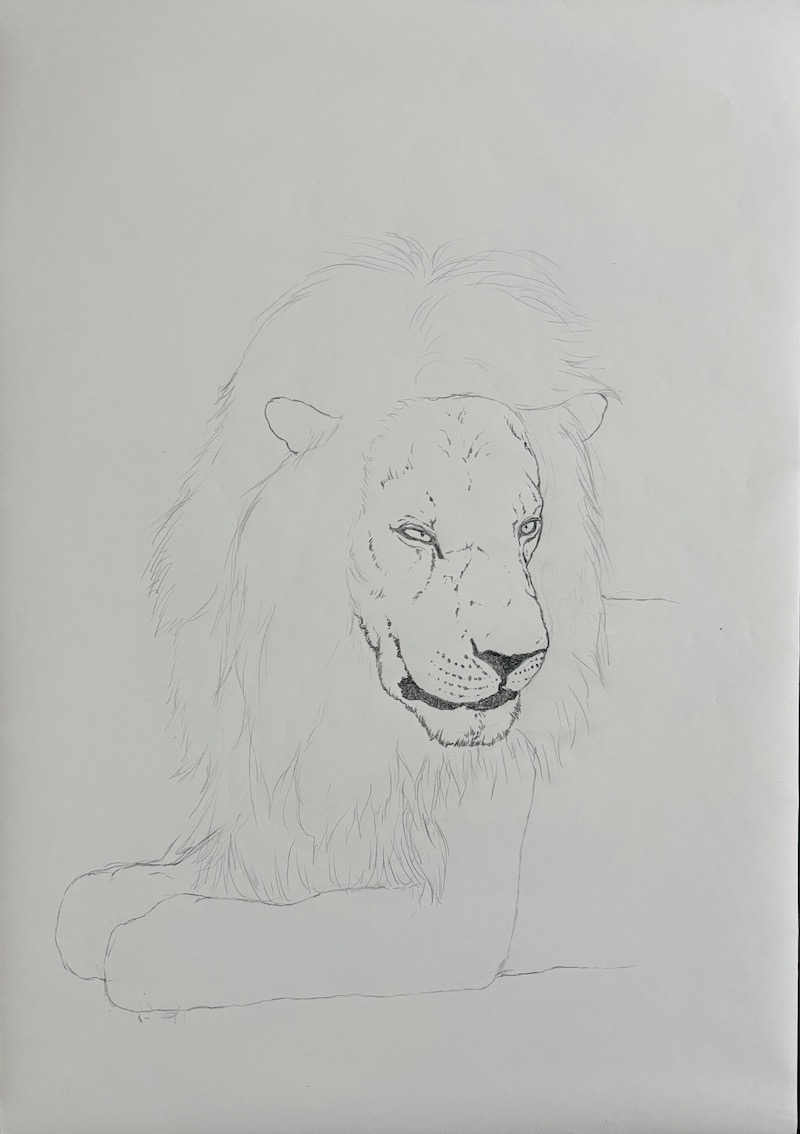
3. Add Details to the Face - Realistic Lion Drawing
Add details to the muzzle and eyes. Use small strokes to create the short fur on the face. The fur around the edge of the muzzle is slightly longer. Take note of the lion’s thick black lip. The pupils are very small, typical of a lion’s gaze.
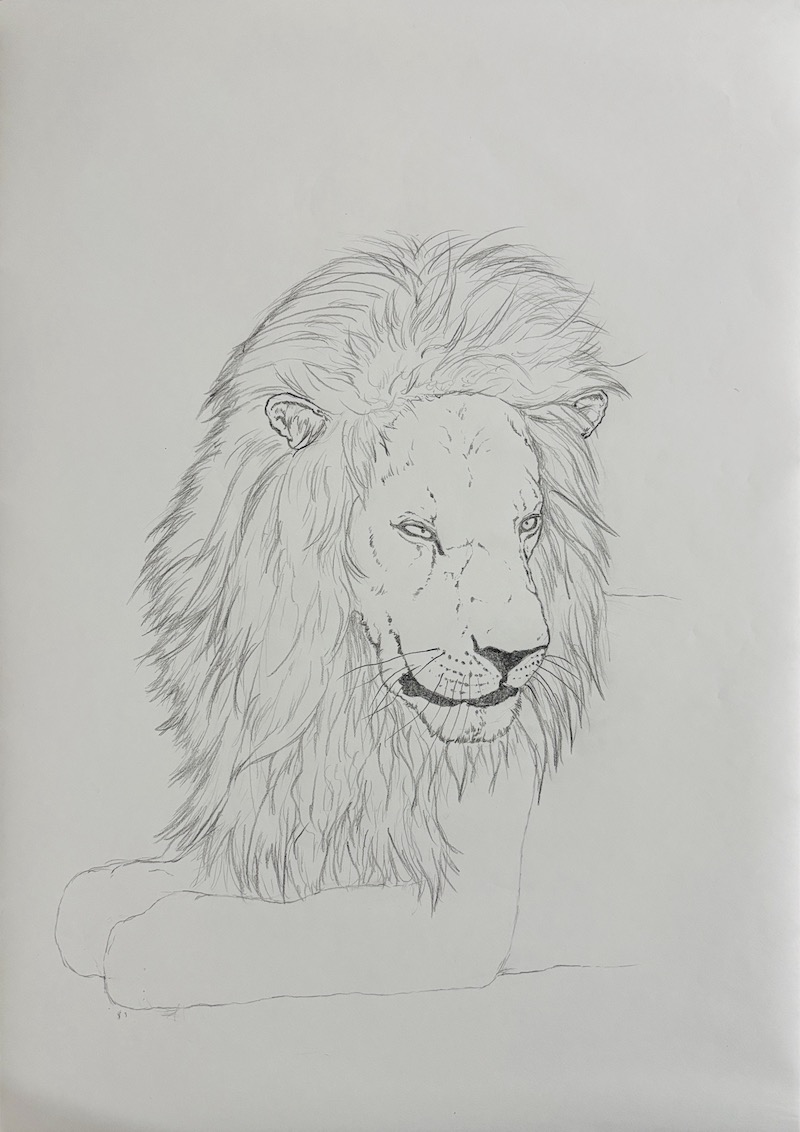
4. Draw the Mane Texture - Realistic Lion Drawing
Create the effect of a full mane using long, dynamic strokes. The mane’s hairs flow in different directions depending on their position around the head. The mane extends down to the front of the abdomen. Notice the size of the mane—it nearly doubles the volume of the head!
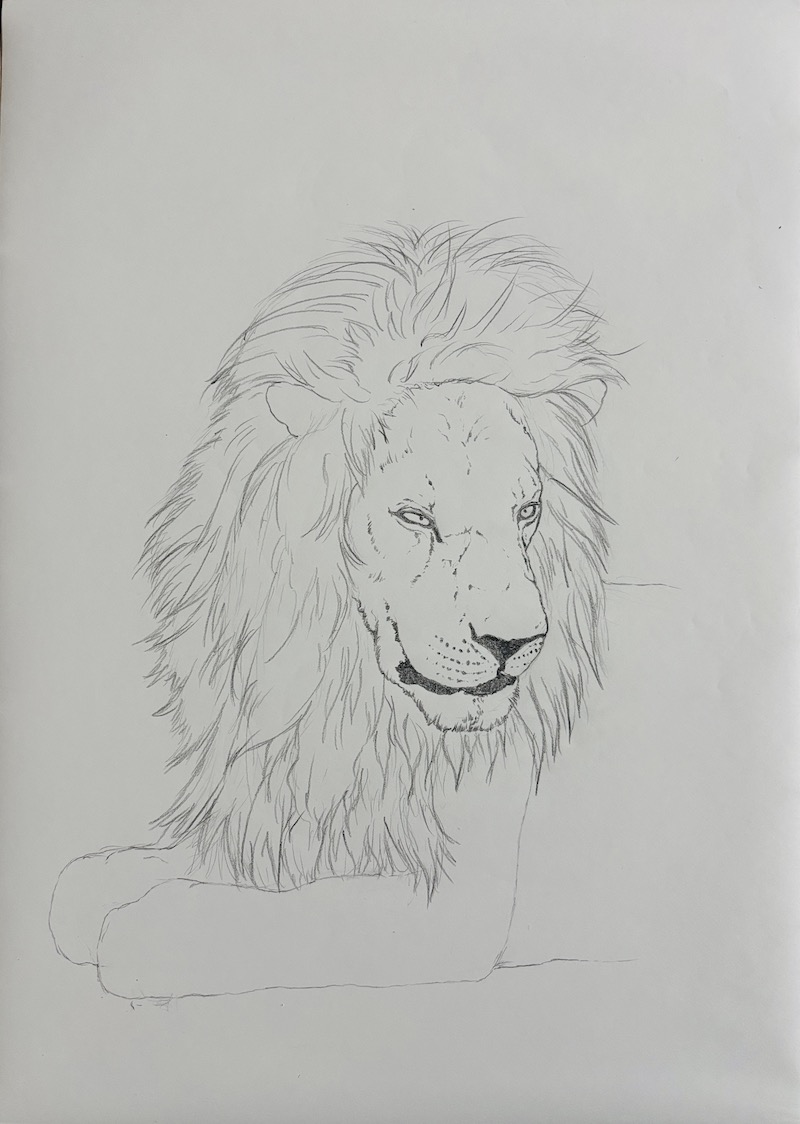
5. Add Fine Hairs in the Ears and Mane - Realistic Lion Drawing
Add details inside the ears and the whiskers. Refine the mane’s texture by adding small hairs along the edges and within the tufts.
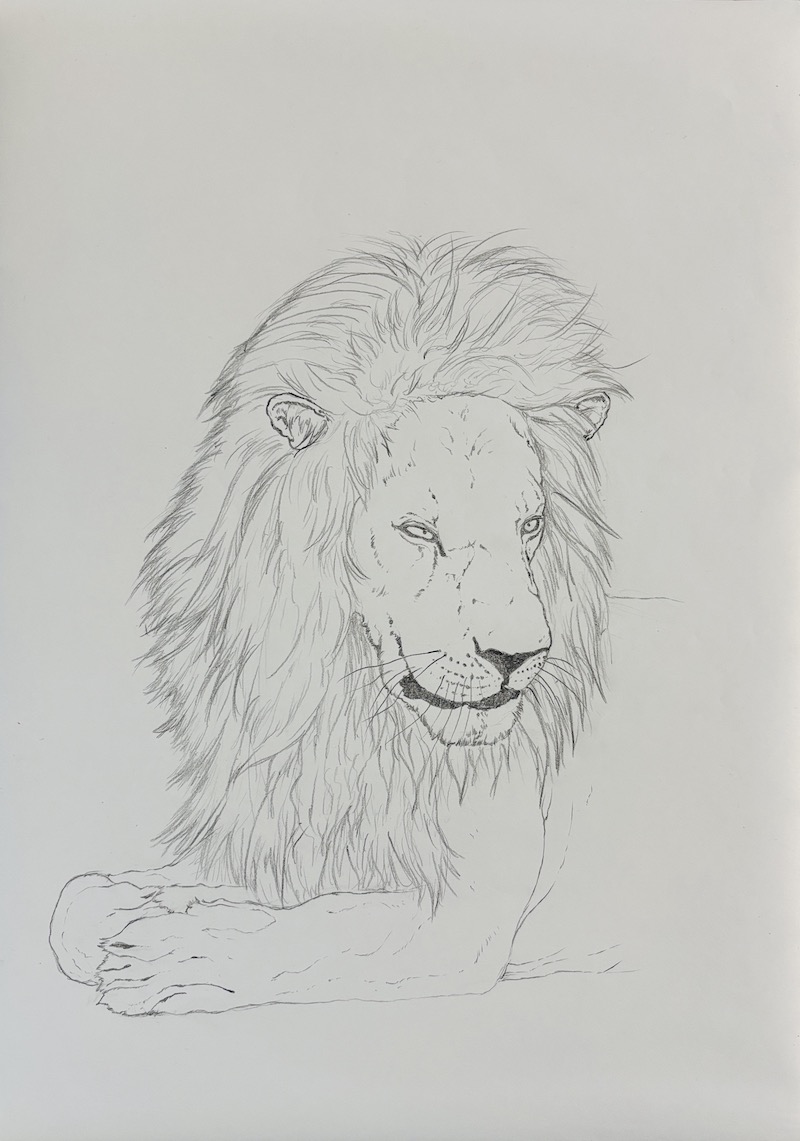
6. Add Details to the Front Legs - Realistic Lion Drawing
Emphasize the muscles of the front legs using small strokes to show the fur’s texture over the muscles. Sketch the toes and the retracted claws.
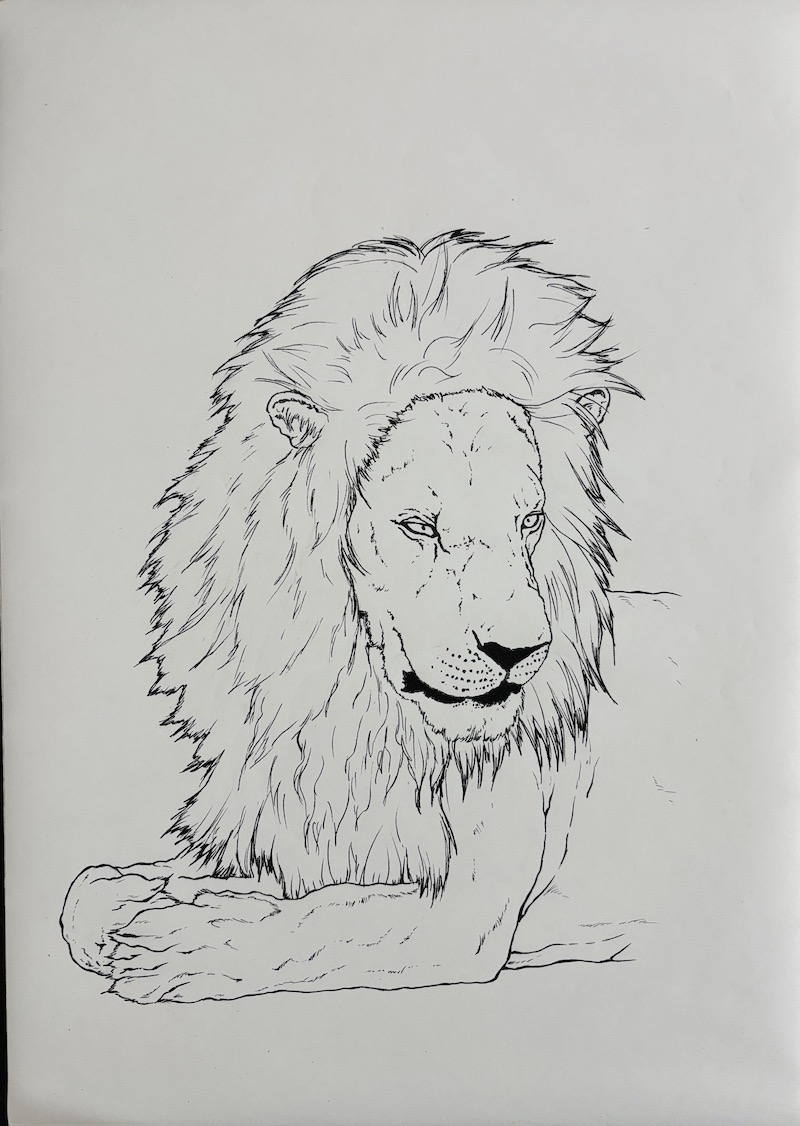
7. Ink the Final Outlines - Realistic Lion Drawing
To ink the outlines, I used Copic Multiliner pens in 0.03mm, 0.05mm, and 0.1mm. The 0.1mm pen was used for the outer contours, the muzzle outline, and the eyes. The 0.05mm pen was used for the mane details and main lines inside the drawing. The 0.03mm pen was used for fine fur textures on the face and front legs. After inking, I erased the graphite sketch lines.
About the Artist
This article and illustrations were created by Madeleine Dubé, an artist and illustrator specializing in step-by-step drawing instruction. She produces detailed tutorials to help beginners learn how to draw realistic animals and other nature-inspired subjects using graphite pencil, ink, and coloring techniques.
Her drawing courses emphasize observing proportions, capturing texture, and building drawings progressively. Her illustrated guides are used by students and art enthusiasts who want to learn to draw in a structured and accessible way. She holds a Bachelor of Fine Arts from Concordia University, majoring in painting and drawing.
Explore more tutorials in the How to Draw Animals section.