How to Draw a Realistic Parrot - Scarlet Macaw
Post by Madeleine Dube
How to Draw Birds
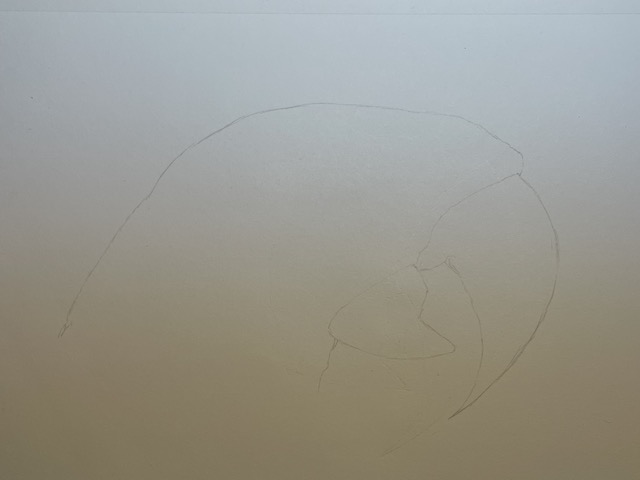
1. Draw the outline of the beak with a light pencil (2H-3H-4H)
Start with the central element that will serve as a reference point for the rest of the drawing. In this case, the beak.

2. Draw the outline of the head with a light pencil
Continue the drawing by tracing the outline of the parrot head.
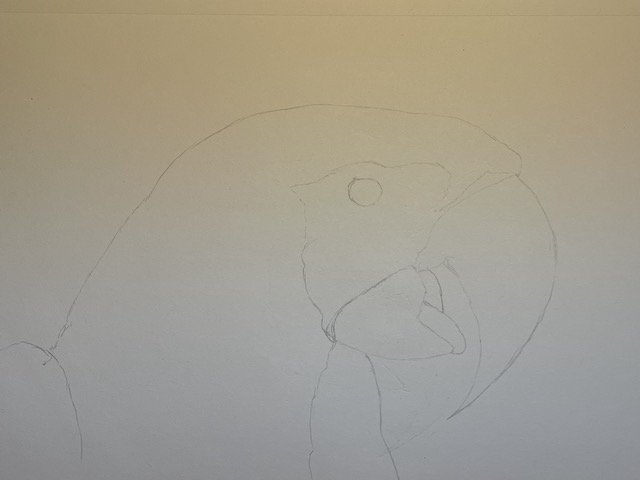
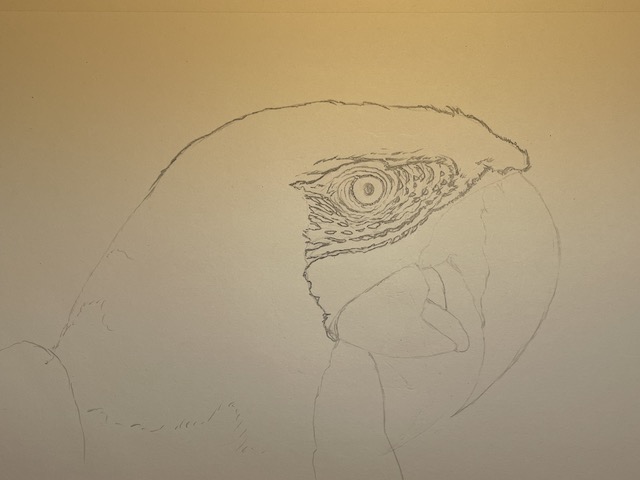
3. Draw the outline of the white area surrounding the eye, as well as the eye contour
Continuing with the pale pencil, trace the contours of the eye and the white space of the parrot's face.

4. Draw the tongue and top of wings
Trace the tongue and top of the wings with a pale pencil.
5. Add the details around the eye
Line the eyelids and iris with a pale pencil. Start adding a few feather lines in the white area of the face.
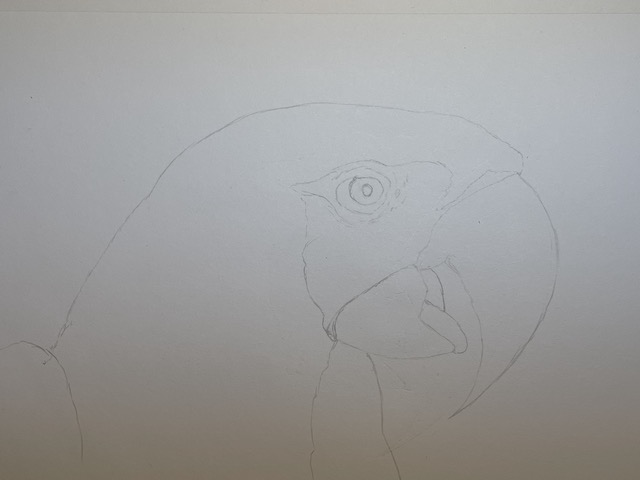
6. Finalize sketch with light pencil
Complete the feather details in the face area below the eye, add details on the beak, trace the main neck feather details.

7. Complete the eye and wrinkles with HB pencil
Trace the final eye contours and skin details in the area around the eye, using the pale pencil lines as a guide.
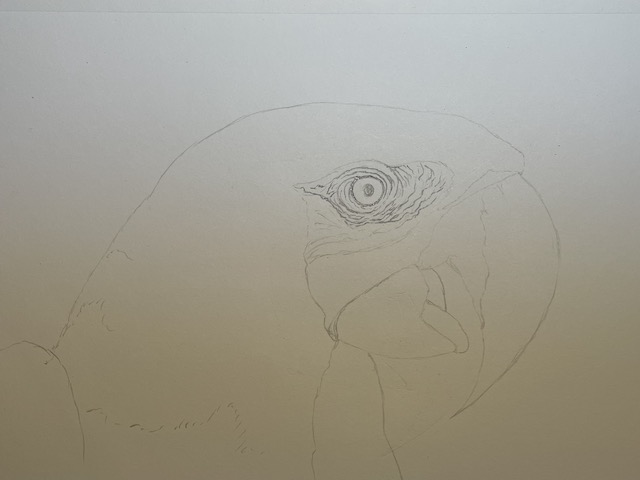
8. Start tracing feather details with HB pencil
Outline the head and detail the small black feathers around the eye. Go slowly to create the feather effect. Add details to the brow bone feathers. Use the pale pencil lines as a guide.
9. Trace beak and tongue with HB pencil
Finish the beak with a dark pencil, using the pale lines as a guide.

10. Tracing facial wrinkles
Make small, delicate lines in the featherless area between the eye and the beak for skin wrinkles.

11. Add texture to the beak
Add beak details and shadows. Blacken the inside of the beak and tongue.

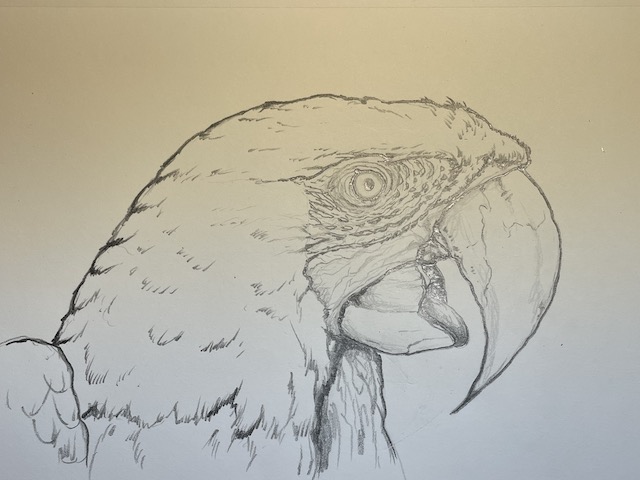
12. Complete head and neck feather contours
Using a dark HB pencil, complete the outline of the head and the textures of the neck feathers. Go slowly to create a downy effect.

13. Add texture to head and neck feathers
Still using dark HB pencil, add small strokes to create the effect of small feathers and add texture to the head.

14. Trace wing feathers
Add feather detail and wing shading with dark HB pencil.

15. Draw final contours in very dark pencil (2B-3B-4B)
Go over the main contours of the drawing to accentuate the shape of the parrot's face: head, wings, beak.
16. Accentuate areas around the eye with a very dark pencil (2B-3B-4B)
Go over with a dark pencil on the eye contours and surrounding feathers. Add final feather details with 2H light pencil for shadow effects.
